This was a boys’ trip — four of us, all working the same 9-to-5 grind, all overdue for a proper vacation. The Philippines had been on the list for a while — beaches, cheap food, and enough adventure to keep it interesting. September is technically off-season, which meant fewer crowds and better hotel prices. The weather held up just fine.
Visa: The Philippines offers visa on arrival for Indian passport holders. No prior application needed — just show up with your passport and return ticket.
Here’s how the 10 days went.
Day 1 — Delhi to Singapore
September 5
Our Singapore Airlines flight left Delhi at 21:55. Not much to say here — we slept through most of it. Singapore Airlines lives up to the hype, by the way. Easily the best airline I’ve flown.
I’d pre-booked an eSIM from Klook before leaving. Highly recommend doing this — it activates instantly and saves you the hassle of finding a physical SIM on arrival.
Day 2 — Singapore → Cebu
September 6
Landed in Singapore at 6:10 AM local time. Had a layover till 11:00, then flew to Cebu, landing at 14:45.
Getting from the airport to your stay: You’ve got two options — book a Grab taxi directly from the airport (easier if you have luggage), or take the airport shuttle to a stop and then Grab from there. If you want to explore local transport, the bus works too. We had bags, so we grabbed a Grab.
We reached our Airbnb in Cebu by around 17:00. Two of us had flown from Delhi; the other two came from Hyderabad/Bangalore and landed around 18:00.
After freshening up, we walked over to St. Joseph The Patriarch Parish — a quiet, peaceful church. Not a tourist spot, just a nice way to start the trip.

Then we grabbed dinner and called it a night.
Money tip: We carried US Dollars from India. Getting Philippine Pesos in India is difficult, but USD is easy to convert — there are exchange shops all around Cebu and Manila. Take dollars with you.
Day 3 — Cebu Day Tour
September 7
Woke up, had a light breakfast, and hired one of the motorbike day-tour guys. They’re everywhere in Cebu — for ₱700 per person, they take you around the main sights on their bikes for the whole day. Here’s what we covered:
- Sirao Garden (₱100/person) — A colourful flower garden up in the hills. Great for photos.
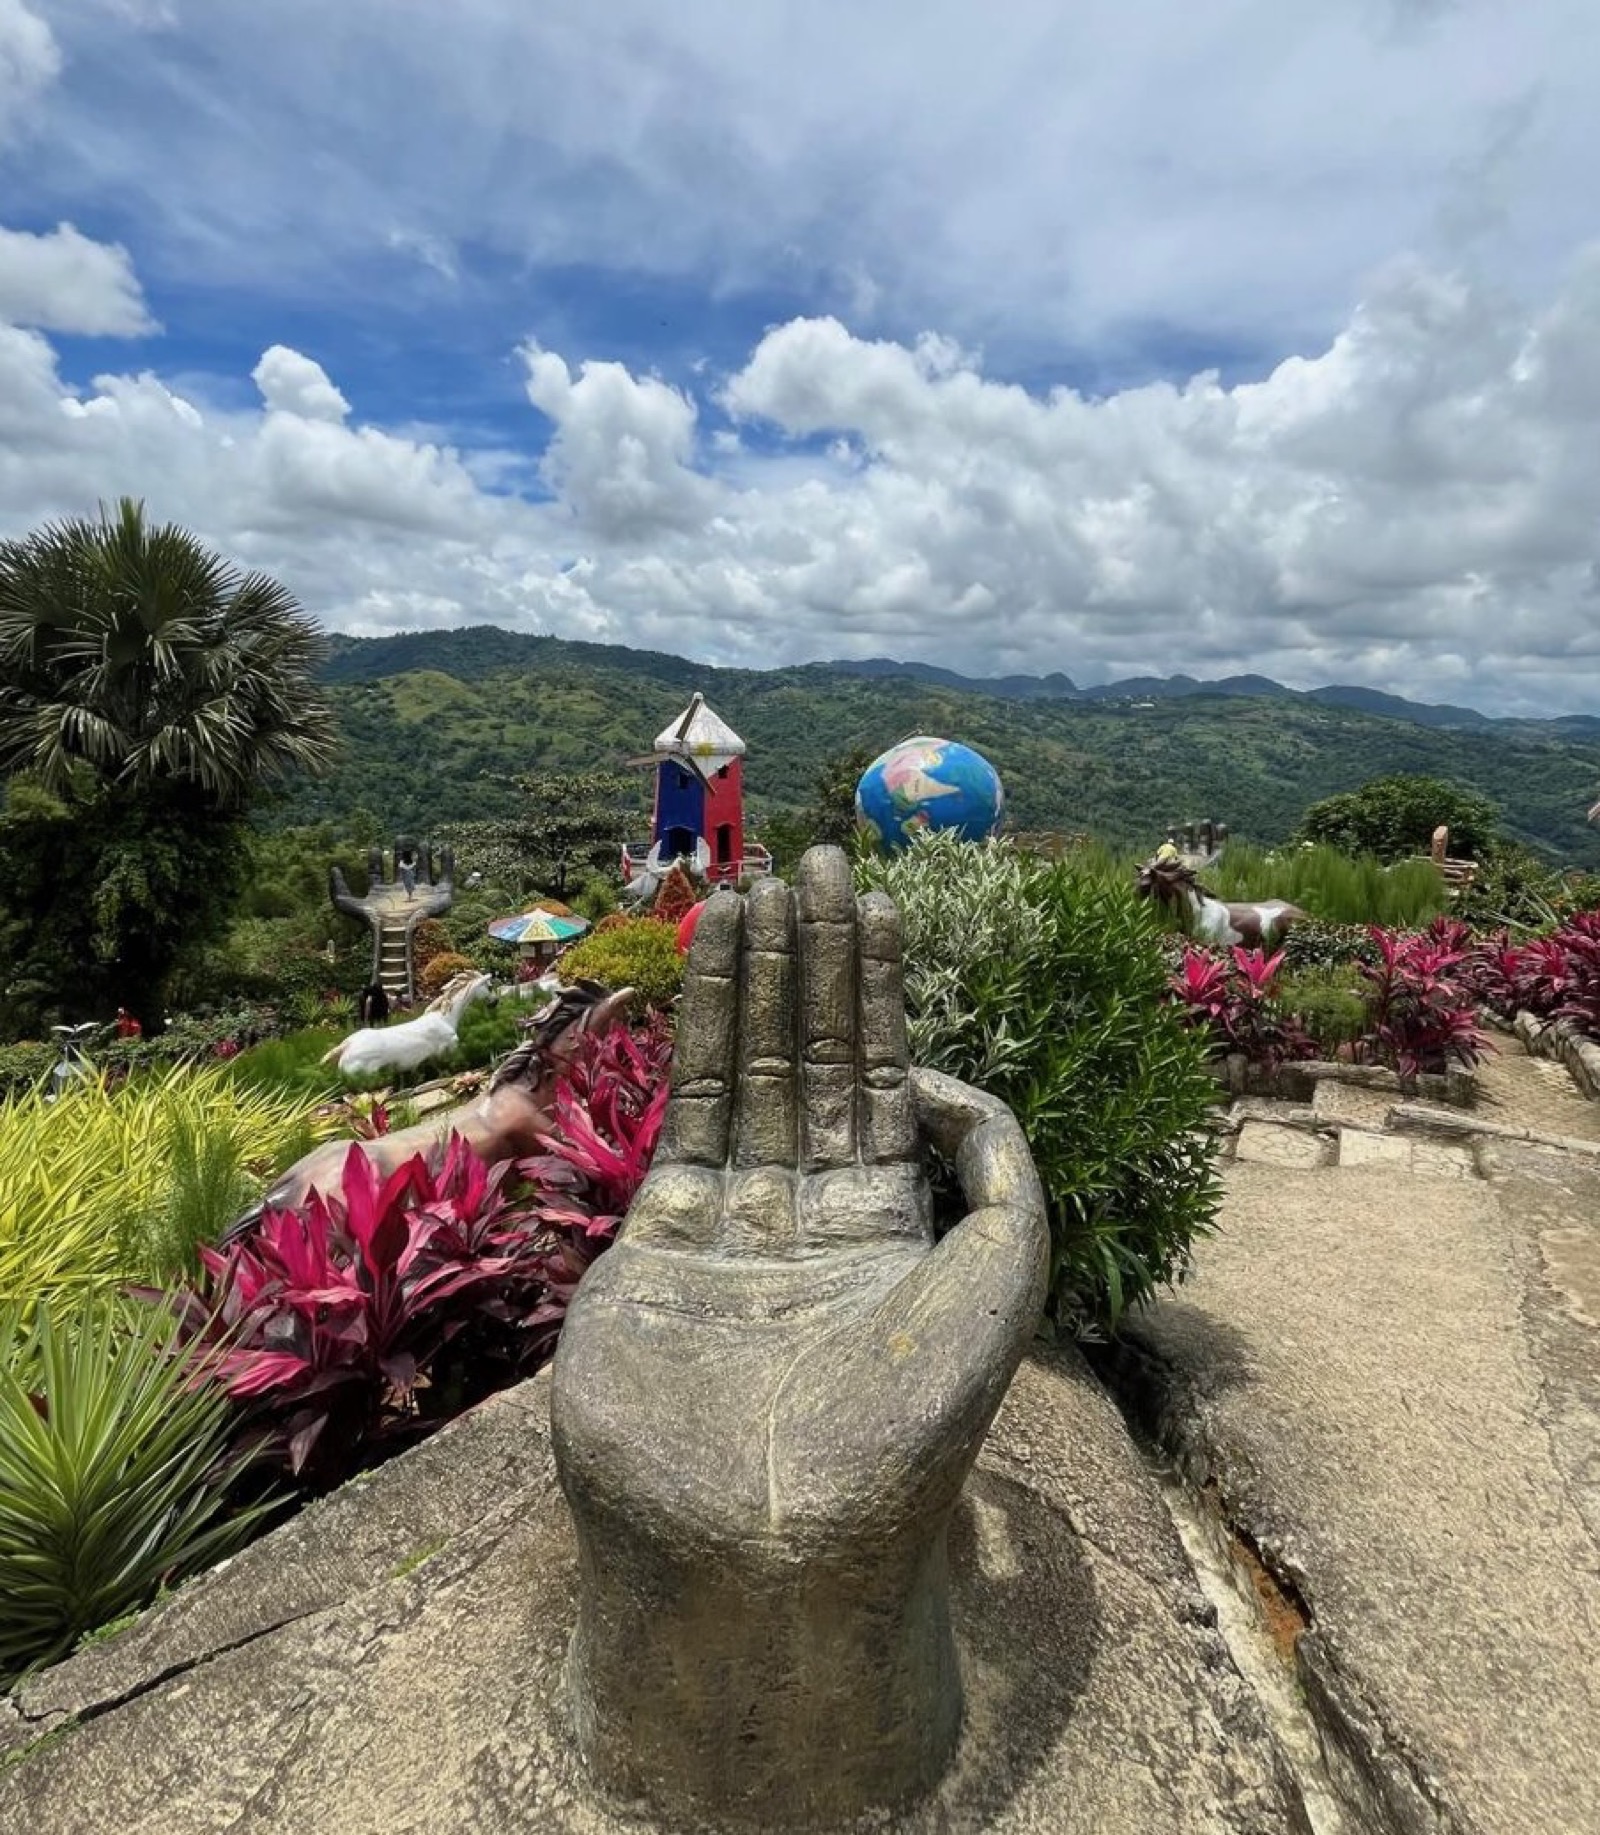
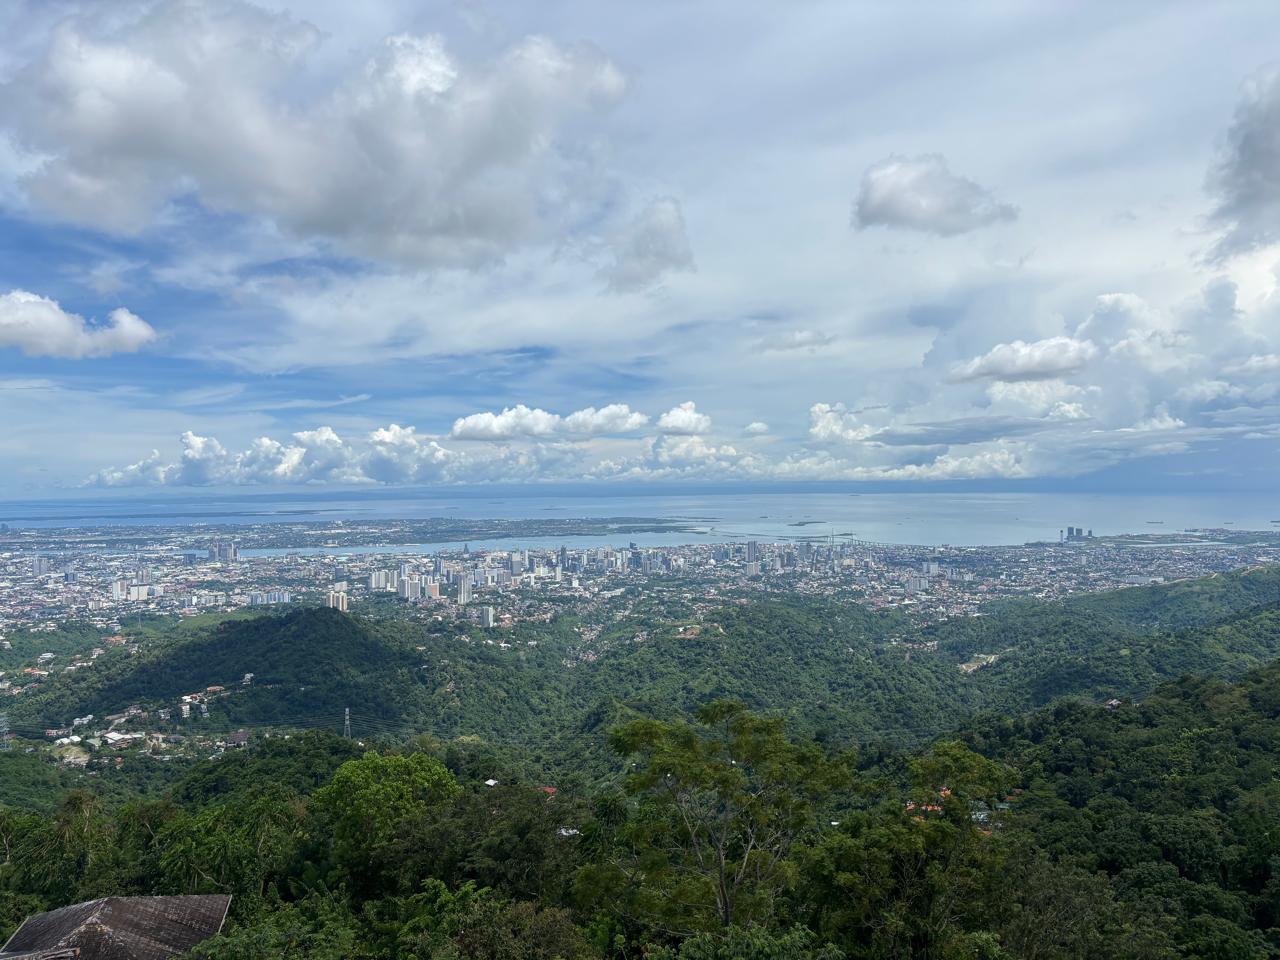
- Tops of Cebu (₱100/person) — A viewpoint overlooking all of Cebu city. Best visited in the morning when it’s clear.
- Temple of Leah (₱150/person) — A Roman-style temple built as a tribute to a man’s wife. It’s grand, aesthetic, and makes for some fantastic photos.

- Taoist Temple (Free) — Beautiful Chinese temple with intricate architecture.
All of these spots are super photogenic. If you’re the kind who likes capturing places, this is your day.
We skipped lunch (big mistake), so dinner was a proper feast. After that we walked down to Mango Avenue — the most famous nightlife street in Cebu. Since it was off-season, it was fairly chill instead of packed, which we actually preferred.
Day 4 — Cebu → Moalboal
September 8
Took a local bus from Cebu South Bus Stand to Moalboal. Cost was ₱330 per person, and the ride takes about 3–3.5 hours. The bus is basic but gets the job done.
At the Moalboal bus stand, we grabbed a tuk-tuk for ₱300 (for all of us) to our hotel. There’s also an environmental fee of ₱25 per person when you enter the Moalboal area.
We checked into Pescadores Seaview Suites around 15:30. This place was a steal — ₹6,000 per person for 2 nights (₹24,000 total for 4 of us). Off-season pricing is no joke. And the hotel provides free snorkeling gear, which we put to use immediately.
We spent the late afternoon snorkeling right off the shore. After that — dinner, a walk along the seaside, and we booked a scuba diving session for the next morning. Cost: ₱2,000 per person.
Day 5 — Scuba Diving & Canyoneering
September 9
This was the best day of the trip. Possibly one of the best days of any trip I’ve been on.
Morning — Scuba Diving
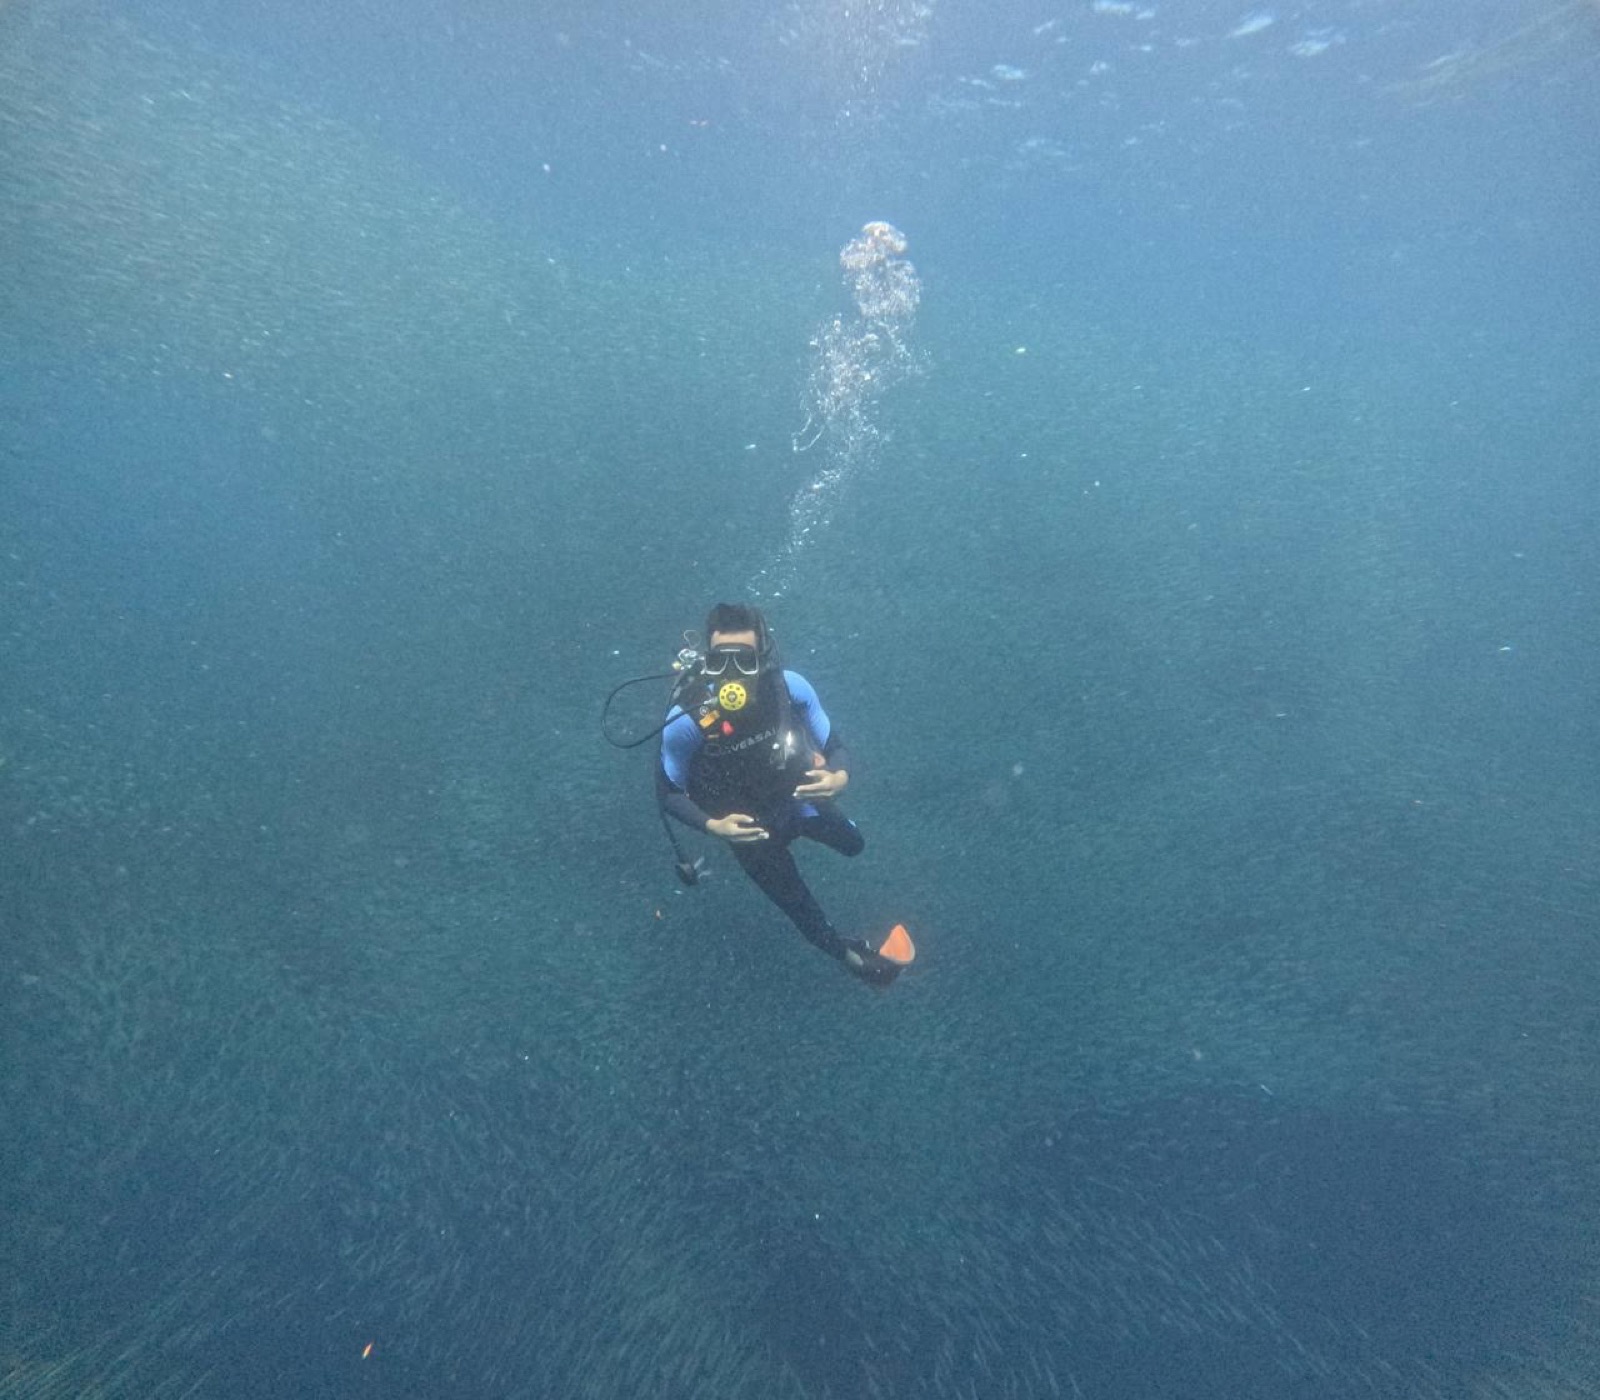
After the hotel’s complimentary breakfast, we headed to the scuba place. They gave us a 20-minute briefing on how to handle yourself underwater — breathing, equalising pressure, hand signals, the works. Then they offered two options: dive near the beach or dive near a nearby island. We chose the beach side.
Tip for first-timers: Go with the beach-side dive. It’s shallower, less intimidating, and the marine life is still incredible.
Each of us had a personal guide. We practised for about 20 minutes in shallow water, then went into the deep — around 30–40 feet. And there they were — millions of sardines, swirling in massive schools right in front of us. It’s one of those things that’s hard to describe. You just float there, surrounded by fish, and forget everything else exists.
Afternoon — Badian Canyoneering & Kawasan Falls
After scuba, we rented two scooters (₱500/day each) and rode about 40 minutes to the Badian Canyoneering adventure spot. Parked at the starting point and signed up — ₱1,800 per person for the full canyoneering experience, lunch included.
The canyoneering itself is a mix of trekking, swimming, and jumping off cliffs into natural pools. At various stops along the route, you get the option to jump — the highest one was about 30 feet. Terrifying and exhilarating.
We also took the zip line option (₱750/person) instead of walking one of the stretches. Worth it.
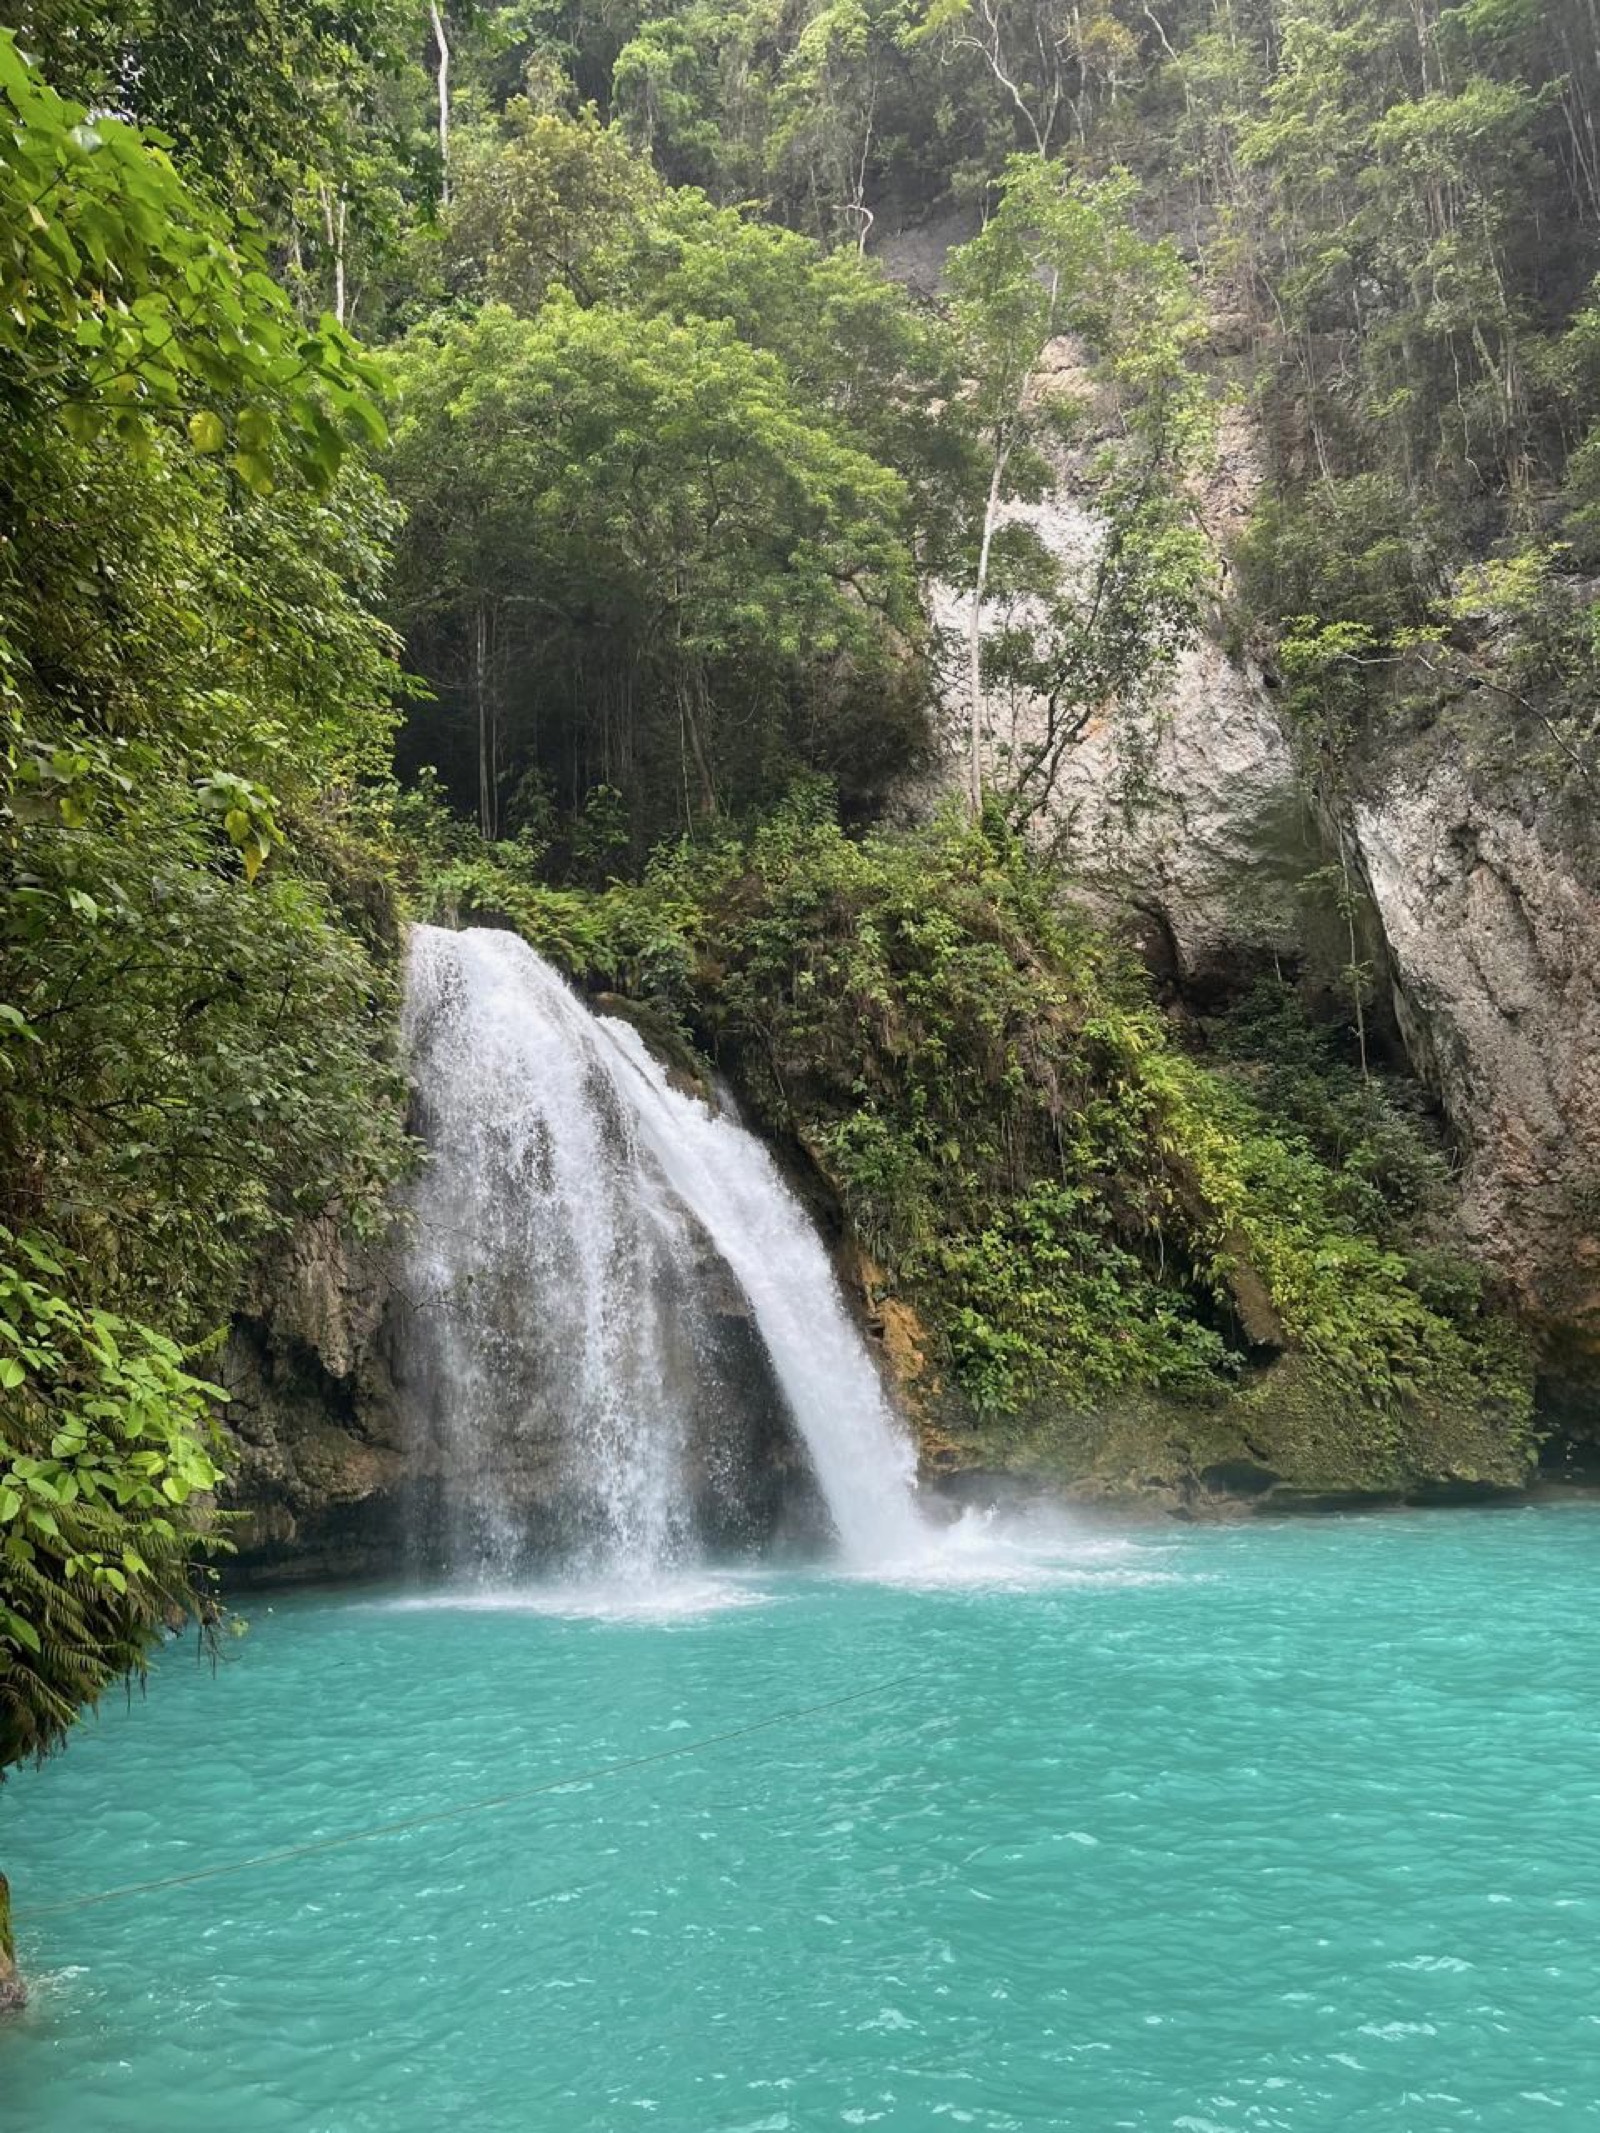
The route ends at Kawasan Falls — turquoise water cascading into a natural pool surrounded by jungle. We soaked it in, then rode back to the hotel, exhausted and grinning.
Day 6 — Osmena Peak
September 10
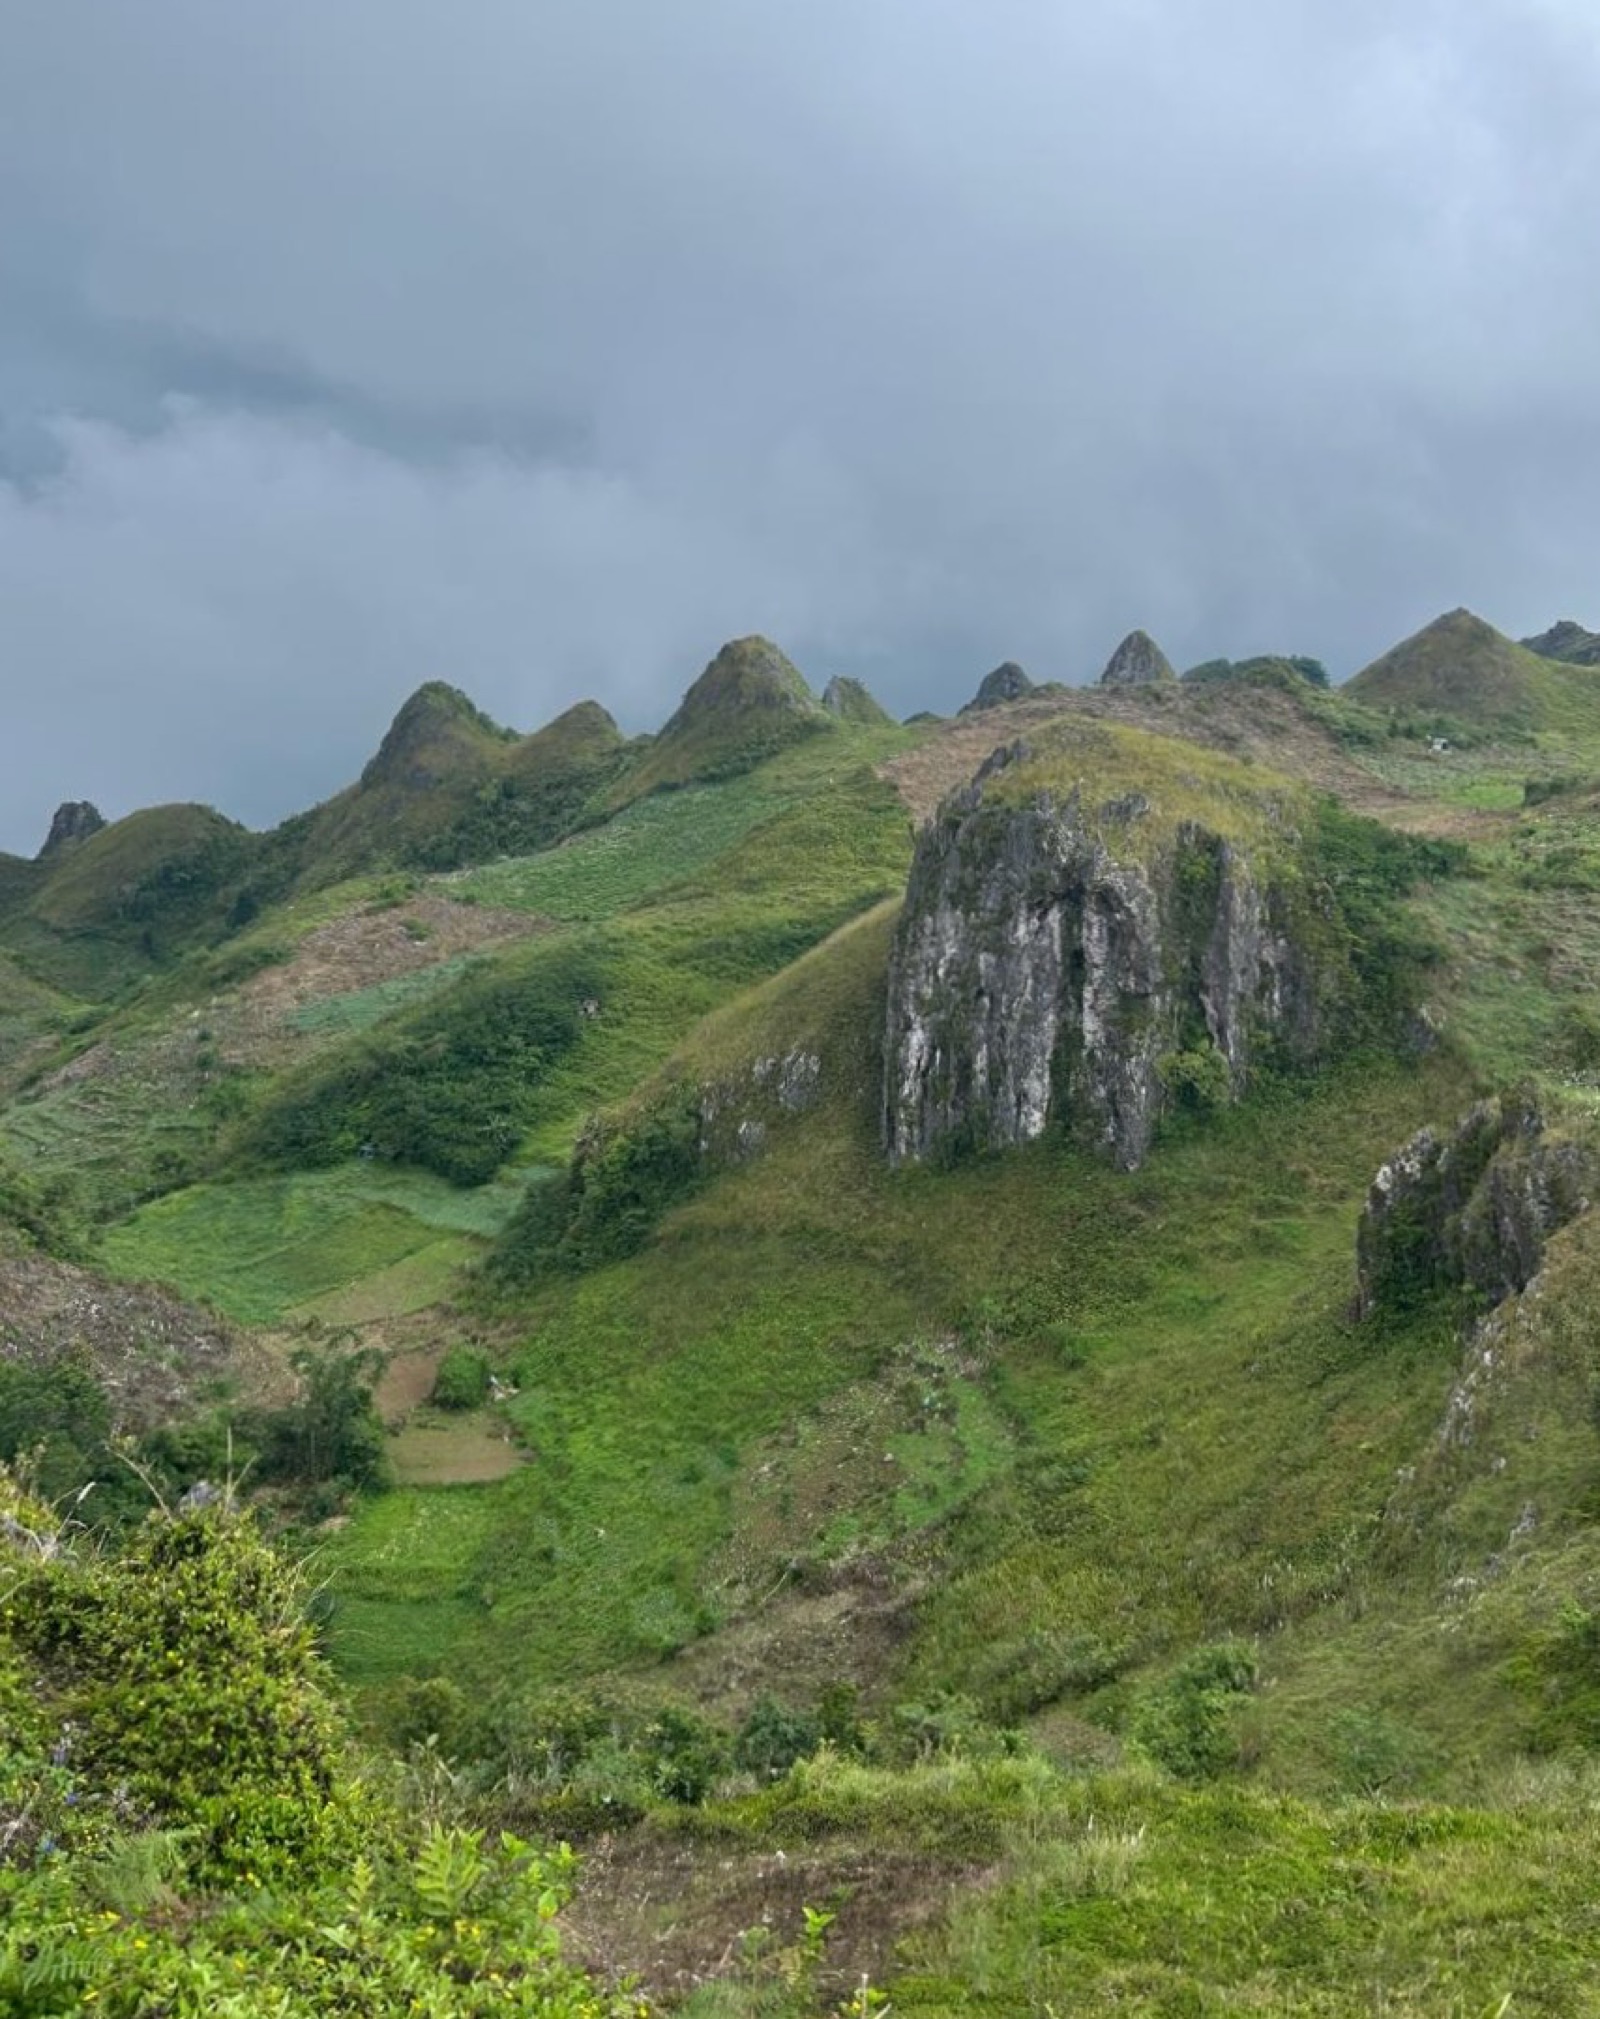
A more relaxed day. We took our scooters and rode to Osmena Peak — about 1.5 hours from Moalboal. The road itself is beautiful, winding through hills and small villages.
You can’t ride up to the peak — you park at the bottom and hike. A guide is compulsory (₱50/person + ₱50 environmental fee). The hike is about 30 minutes and not difficult at all. The view from the top is stunning — jagged limestone hills stretching in every direction.
We were back by evening. Had dinner and enjoyed our last night in Moalboal.
Day 7 — Moalboal → Cebu
September 11
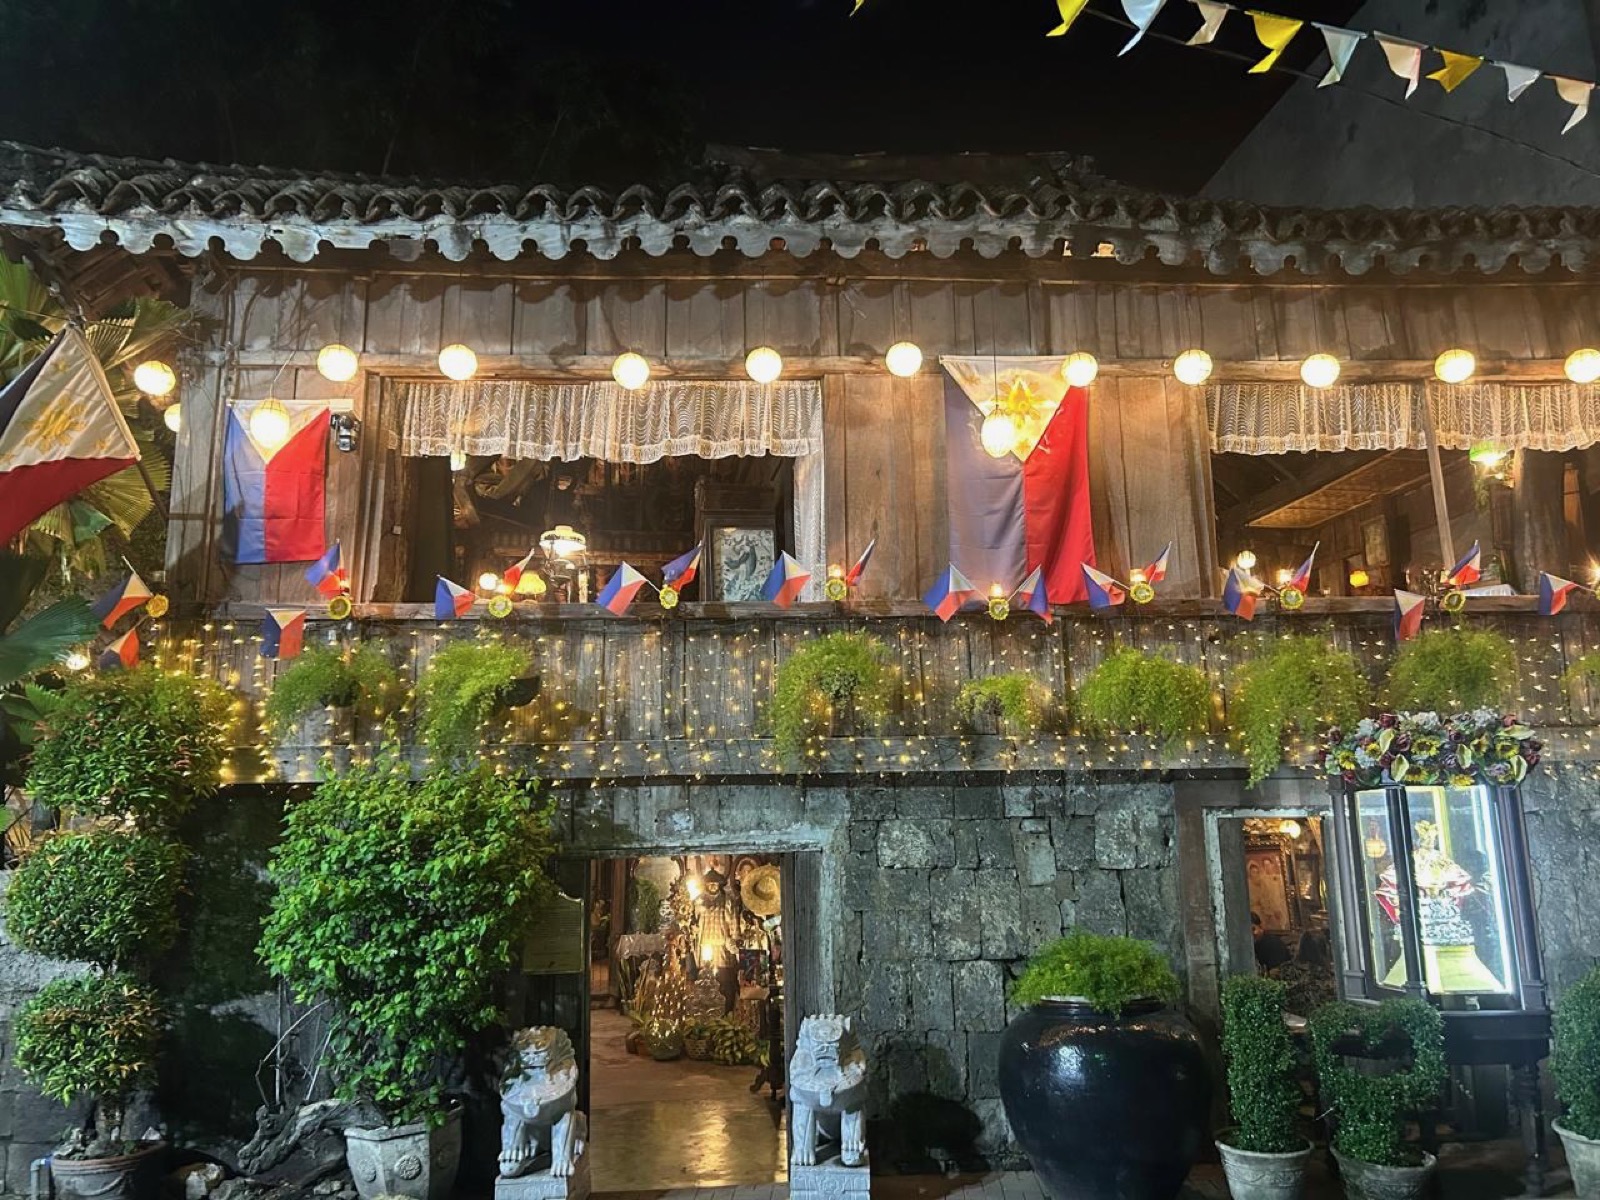
Took the bus back to Cebu city and checked into the same Airbnb. In the evening, we visited the Yap-Sandiego Ancestral House (₱100/person) — one of the oldest Chinese-Filipino houses in the Philippines. Honestly, it’s nothing too exciting. If you have time, sure. If not, you’re not missing much.
We spent the rest of the evening buying souvenirs — dried mangoes are the move, by the way.
Day 8 — Cebu → Manila
September 12
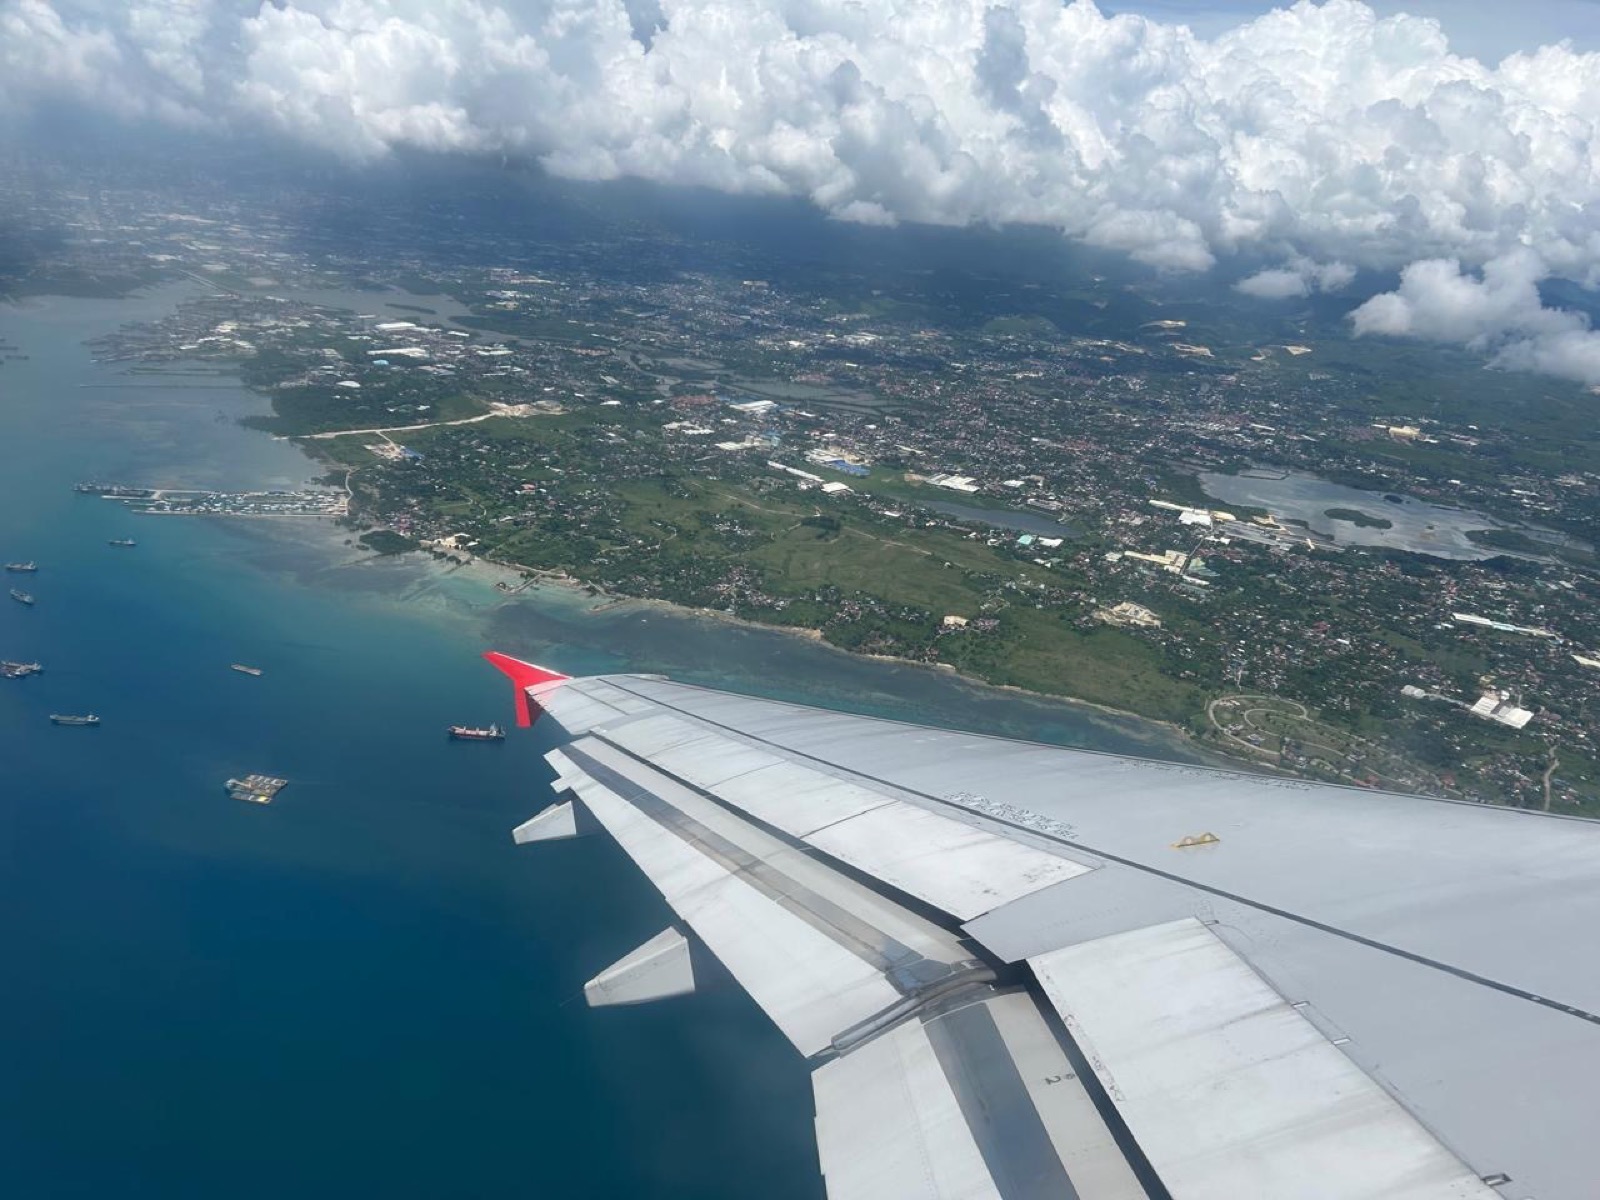
Caught an AirAsia flight at 10:30 from Cebu. Reached Manila by 12:00. Booked a cab and headed to our Airbnb in Manila.
In the evening, we visited Asia’s largest IKEA. Yes, we flew to the Philippines and went to IKEA. It’s massive though — worth a visit if you’re into that sort of thing.
Fair warning: Manila traffic is brutal. Whether you take the metro or a cab, everything takes longer than you’d expect. Plan accordingly.
Day 9 — Manila Sightseeing
September 13
Ocean Park Manila
Started the day at Ocean Park — ₱750 per person. It’s a decent aquarium/theme park combo. The highlight was the seal show — genuinely entertaining and worth catching if you’re there. Good if you have time but not a must-visit.
National Museum of Natural History
This one surprised us. It’s completely free, and the building itself is gorgeous — there’s a massive tree-of-life structure in the atrium. Most museums in Manila are free, which is a nice change from the rest of Southeast Asia.
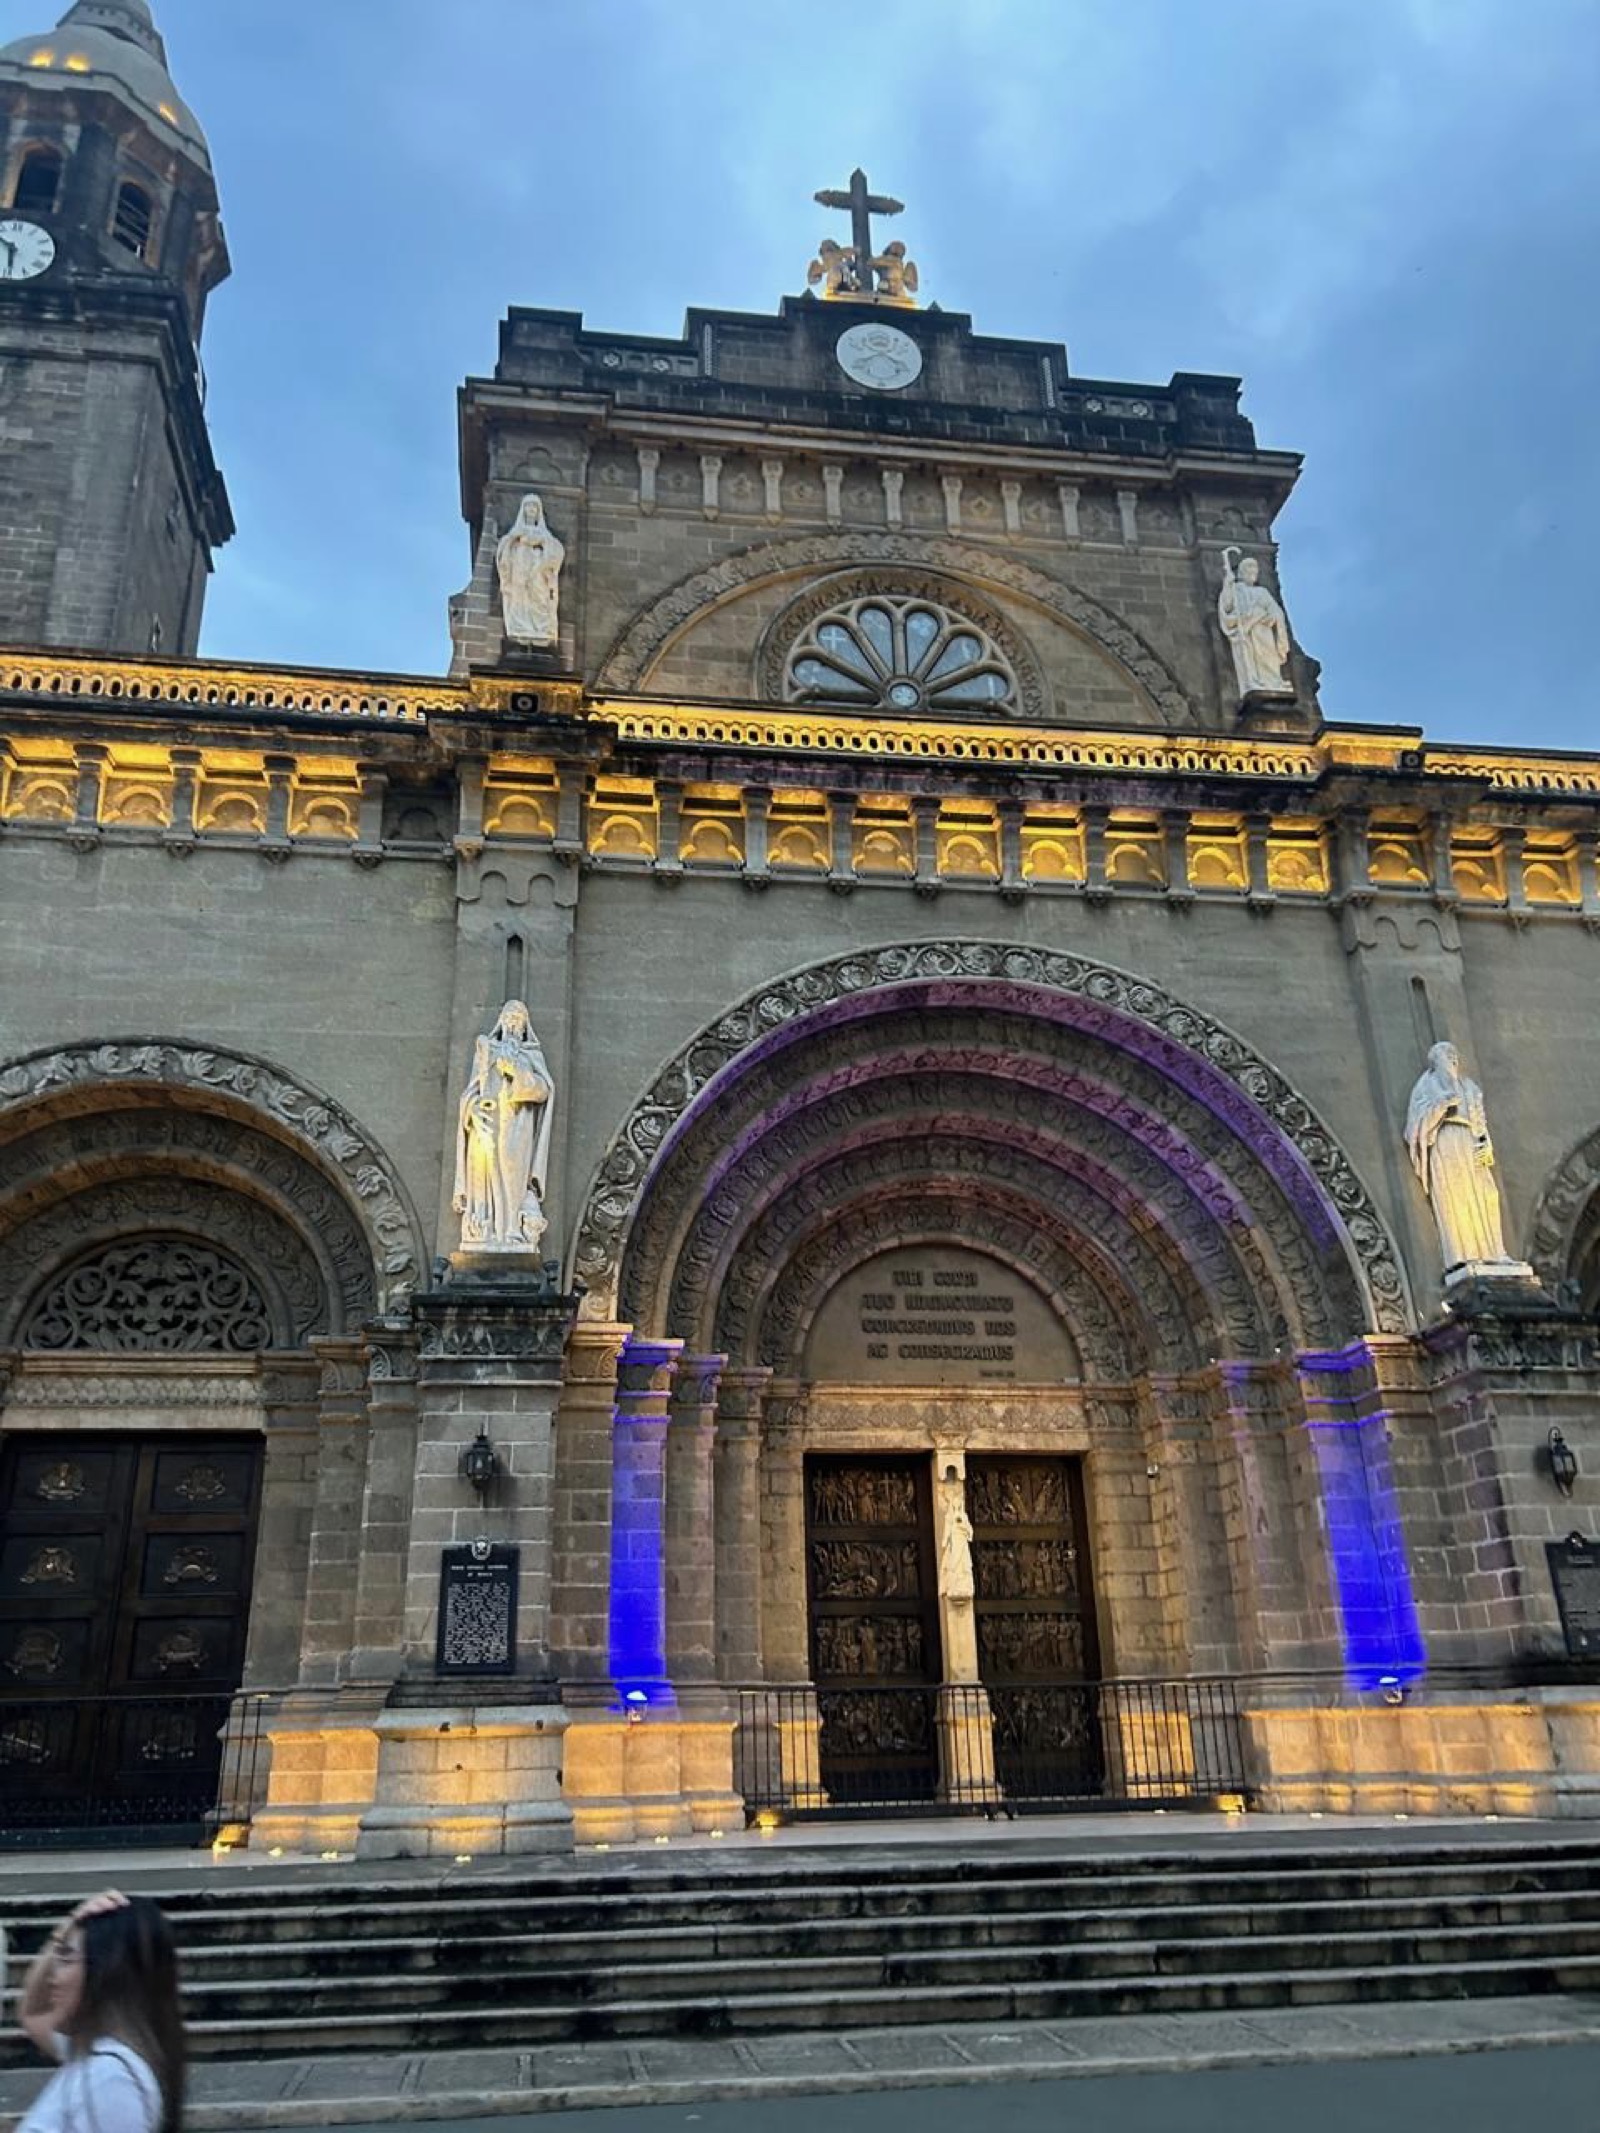
Intramuros
The historic walled city. Entry is free, but we hired one of the local tuk-tuk tours — they call them “Lamborghinis” (the name alone is worth it) — for ₱250 per person. They drive you around and explain the history. Honestly, wasn’t entirely worth the money, but hey — you’ve already flown thousands of kilometres. Might as well.
We did some last-minute shopping in the evening and called it a trip.
Day 10 — Manila → Home
September 14
Return flight from Manila via Singapore, again on Singapore Airlines. We landed in New Delhi on Monday early morning, went straight to our offices, and pretended the previous 10 days never happened.
What It Cost
Here’s a rough breakdown per person. Some of this is from memory, so take it as a ballpark.
Accommodation (per person, split 4 ways)
| Stay | Cost |
|---|---|
| Airbnb in Cebu (3 nights) | ₹2,700 |
| Pescadores Seaview Suites, Moalboal (2 nights) | ₹6,000 |
| Airbnb in Manila (2 nights) | ₹2,100 |
Activities (per person)
| Activity | Cost |
|---|---|
| Motorbike day tour, Cebu | ₱700 (~₹1,050) |
| Sirao Garden | ₱100 |
| Tops of Cebu | ₱100 |
| Temple of Leah | ₱150 |
| Scuba Diving, Moalboal | ₱2,000 (~₹3,000) |
| Badian Canyoneering | ₱1,800 (~₹2,700) |
| Zip Line | ₱750 (~₹1,125) |
| Osmena Peak (guide + fee) | ₱100 |
| Ocean Park, Manila | ₱750 |
| Intramuros tuk-tuk | ₱250 |
| Yap-Sandiego House | ₱100 |
Transport (per person)
| Leg | Cost |
|---|---|
| Bus: Cebu → Moalboal | ₱330 |
| Tuk-tuk at Moalboal | ~₱75 (split) |
| Moalboal environmental fee | ₱25 |
| Bus: Moalboal → Cebu | ₱330 |
| Scooter rental (₱500/day/scooter, split between 2) | ₱250/day |
Note: Flight costs aren’t included above — those vary a lot depending on when you book. We flew Singapore Airlines (Delhi ↔ Cebu via Singapore) and AirAsia (Cebu → Manila).
Things to Know Before You Go
- Visa on arrival for Indians — No advance visa application needed. Just carry your passport and return ticket.
- Carry US Dollars — Getting Philippine Pesos in India is difficult. USD is easy to convert at exchange shops all over Cebu and Manila. You’ll need to convert first — shops don’t accept dollars directly.
- Book an eSIM from Klook — It activates instantly. No hunting for SIM shops after landing.
- Download Grab before you land — It’s the best taxi app in the Philippines, like Uber but better for Southeast Asia. Works reliably in both Cebu and Manila. Use it for airport transfers, city rides, everything.
- Off-season (September) is underrated — Fewer tourists, cheaper hotels, and the weather was perfectly fine for us. Moalboal at ₹25,000 for 4 people for 2 nights wouldn’t happen in peak season.
- Negotiate scooter rentals — In Moalboal, you can rent scooters to explore independently. Way more flexible than organised tours.
- Beach-side scuba for first-timers — If it’s your first dive, pick the beach option. It’s less scary and the sardine run is still visible. You don’t need to go to a distant island.
- Manila traffic is real — Everything takes 2x longer than Google Maps says. Keep your itinerary loose for Manila days.
- Philippines Pesos breakdown — Roughly ₱1 ≈ ₹1.5 at the time of our trip. So ₱1,000 ≈ ₹1,500.
- Canyoneering is a must — If you do only one activity in Cebu, make it the Badian canyoneering + Kawasan Falls combo. It’s the highlight.
Final Thoughts
The Philippines caught me off guard. I went in expecting beaches and came back with a scuba diving story I won’t shut up about, sore legs from canyoneering, and a weird appreciation for Manila’s chaos.
Cebu and Moalboal are the real stars — the city gives you culture and nightlife, while Moalboal is pure adventure. Manila is worth a day or two for the museums and food, but don’t over-plan it.
The best part? Four friends, no itinerary stress, and enough stories to last us a few years of office lunch conversations. If you’re planning a trip with your squad and want something that’s affordable, adventurous, and not overly touristy — the Philippines in off-season is it.